The Best Way To Cut Tile And Porcelain
Cutting tile and porcelain with precision is a crucial skill for any DIY enthusiast or professional contractor. Whether you're remodeling your bathroom, renovating your kitchen, or working on a tiling project, understanding the best techniques and tools for cutting tile can make all the difference in achieving a flawless finish. In this guide, we will explore the various methods and equipment available, along with helpful tips and tricks, to ensure your tile cutting endeavors are successful and yield professional-grade results.
Do You Have The Right Tool To Cut Tile?
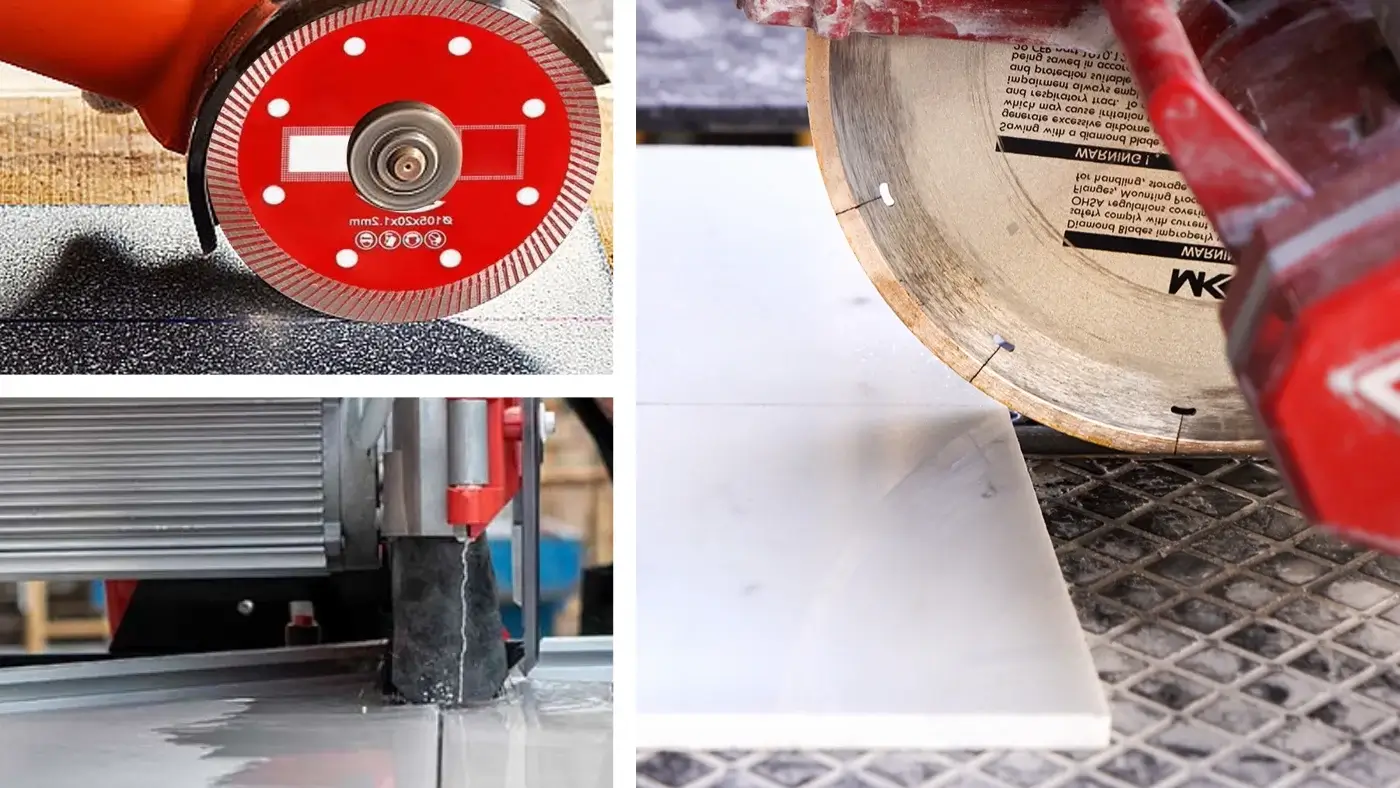
Before diving into the cutting process, it's essential to have the right tools at your disposal. Here are some of the key tools you'll need:
Wet Tile Saw
A wet tile saw is considered the gold standard for cutting tile and porcelain. It utilizes a diamond-edged blade and a water-cooling system to provide clean and precise cuts.
Shop tile bladesTile Nippers
Tile nippers are hand tools designed for making small, irregular cuts or shaping tiles around curves or corners. They are especially useful when dealing with small tile pieces.
Shop accessoriesTile Cutters
Tile cutters are manual tools that use a scoring and snapping mechanism to cut straight lines in tiles. They are ideal for ceramic and thinner porcelain tiles.
Shop accessoriesAngle Grinder
An angle grinder equipped with a diamond blade can be used for cutting curves, notches, and intricate shapes in tile and porcelain. However, it requires practice and caution due to its high speed and potential for chipping.
Shop 4½" B-Turbo bladePRO TIP
Core Bit
Using a core bit to cut tile and porcelain offers several benefits that make it a preferred method among professionals and DIY enthusiasts.
Firstly, a core bit allows for precise and clean cuts. Its diamond-tipped cutting edge ensures smooth and accurate cuts without causing significant damage or chipping to the tile or porcelain surface.
Secondly, using a core bit reduces the risk of cracking or breaking the material. Unlike traditional cutting methods that involve scoring and snapping, a core bit cuts through the material in a controlled manner, minimizing the chances of accidental breakage.
Additionally, core bits are designed to handle tough materials like tile and porcelain. The diamond or carbide tips on the bit are specifically engineered to withstand the hardness of these materials, ensuring efficient cutting and extended tool life.
Lastly, using a core bit provides versatility. Core bits come in various sizes, allowing for flexibility in cutting different tile or porcelain thicknesses. They can also be used with a range of tools, including handheld drills and drill presses, making them suitable for different project requirements.
Overall, the use of a core bit to cut tile and porcelain offers precise, clean cuts, minimizes the risk of material damage, provides durability, and offers versatility, making it a beneficial tool for tile and porcelain cutting projects.
Get Your Tile Ready
Proper preparation is crucial to ensure clean and accurate cuts. Follow these steps before cutting the tile:
Measure and Mark
Measure the tile and mark the cutting line using a pencil or a marker. Use a straightedge or a square to ensure precise lines.
Masking Tape
Applying masking tape over the cutting line can help reduce chipping and provide better visibility during the cutting process.
Safety Gear
Always wear safety goggles, gloves, and a dust mask when working with tile. Cutting tile generates dust and sharp debris, so protection is paramount.
A Cut Above
Now that you're equipped with the right tools and have prepared the tile, it's time to explore various cutting techniques:
Wet Tile Saw
- Adjust the fence and blade height according to your desired cut.
- Turn on the water pump to cool the blade and reduce dust.
- Position the tile against the fence and gently push it into the rotating blade, allowing the saw to do the work. Move the tile steadily but not too quickly.
- Continue the cut until the blade reaches the end of the tile.
Tile Nippers
- Start by making small, controlled bites along the cutting line.
- Gradually move along the line, shaping the tile as needed.
- Use the nipper's jaws to nibble away small sections until you achieve the desired shape or size.
Tile Cutter (Straight Cuts)
- Position the tile on the cutter, aligning the cutting line with the scoring wheel.
- Apply firm and even pressure to the tile while dragging the wheel along the line to create a score.
- Use the snapping mechanism to break the tile along the scored line.
Angle Grinder (Curved Cuts)
- Mark the cutting line on the tile and secure it firmly.
- Turn on the grinder and gradually guide the blade along the marked line.
- Take your time and apply gentle pressure to avoid chipping.
Bump Your Game Up With A Bridge Saw
Using a bridge saw to cut tile and porcelain is essential for both amateurs and professionals due to several important reasons.
Accuracy and Precision
Firstly, a bridge saw offers enhanced accuracy and precision in cutting. Its stable and rigid structure allows for smooth and controlled cuts, resulting in clean and straight edges, which is crucial for achieving professional-looking results.
Safety
Secondly, a bridge saw ensures safety during the cutting process. The saw's design includes safety features such as blade guards and water cooling systems that help minimize the risk of accidents and injuries. This is particularly important when working with hard and brittle materials like porcelain, which can be challenging to cut without the proper equipment.
Efficiency and Productivity
Furthermore, a bridge saw provides efficiency and productivity. Its powerful motor and diamond-tipped blade enable swift and effortless cutting, saving time and effort compared to manual cutting methods. This is particularly advantageous for professionals who need to complete projects efficiently and meet deadlines.
Versatility and Flexibility
Lastly, using a bridge saw allows for versatility and flexibility. These saws often come with adjustable features like cutting angles and depths, allowing users to achieve various cutting styles and designs. This versatility is beneficial for both amateurs and professionals who may have different project requirements and design aspirations.
In conclusion, the use of a bridge saw when cutting tile and porcelain is crucial for amateurs and professionals alike. It ensures precise cuts, enhances safety, improves efficiency, and offers versatility, all of which contribute to achieving high-quality and professional results in tile and porcelain cutting projects.
Practice Safe Cutting
Once you've made the necessary cuts, there are a few additional steps to complete the process:
Use a tile file or sandpaper to smooth any rough edges or sharp corners resulting from the cutting process. This will ensure a professional and safe finish.
Remove any tile fragments, dust, or debris from the cutting area. A clean work environment is not only safer but also helps prevent damage to the finished tile surface.
Dispose of the tile remnants and waste materials responsibly, following local regulations and guidelines.
Always prioritize safety when cutting tile or porcelain. Wear protective gear, work in a well-ventilated area, and exercise caution when handling sharp tools.
WRAPPING UP
Now That You're A Tile Cutting Pro…
Cutting tile and porcelain can seem daunting, but with the right tools, techniques, and safety measures, you can achieve professional-grade results. Remember to choose the appropriate cutting method for your specific project and exercise patience and precision throughout the process. With practice, you'll gain confidence and expertise in cutting tile, enabling you to transform your spaces with beautiful, custom installations. Happy tiling!
Frequently Asked Questions
Tile & porcelain blades — in stock and ready to ship
Best price guarantee — only at bladesasap.com!